Having installed your Exalogic Virtual environment by default you
have a single template which can be used to create your vServers.
Although this template is suitable for creating simple test or
development vServers it is recommended that you look at creating
your own custom vServers that match the environment you wish to
build and deploy. Therefore this Tea Time Snippet will take you
through the simple process of modifying the standard template.

 Once the ModifyJeos Utility has been downloaded we can install
the rpms onto either an existing vServer or one of the Control
vServers.
Once the ModifyJeos Utility has been downloaded we can install
the rpms onto either an existing vServer or one of the Control
vServers.

 Now we have the Template tgz we will need the extract it as
follows:
Now we have the Template tgz we will need the extract it as
follows:
MountSystemImg.sh
UnmountSystemImg.sh
 One thing that we need to remember is to remove the / when
editing files or creating links and so :
One thing that we need to remember is to remove the / when
editing files or creating links and so :
To do this we will simply cd to the directory above that containing the modified files and execute the following:
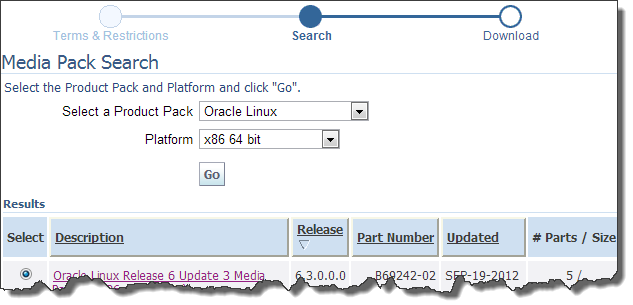
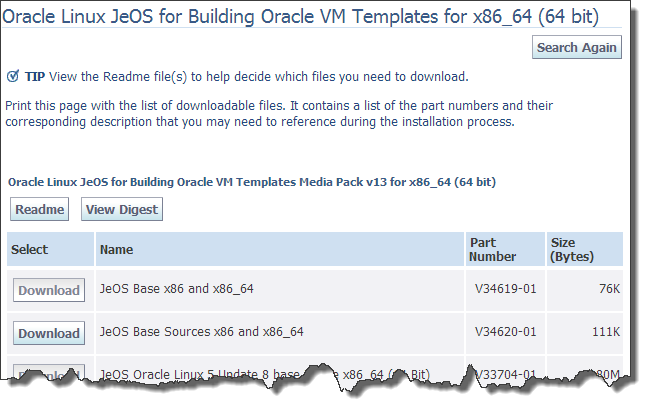
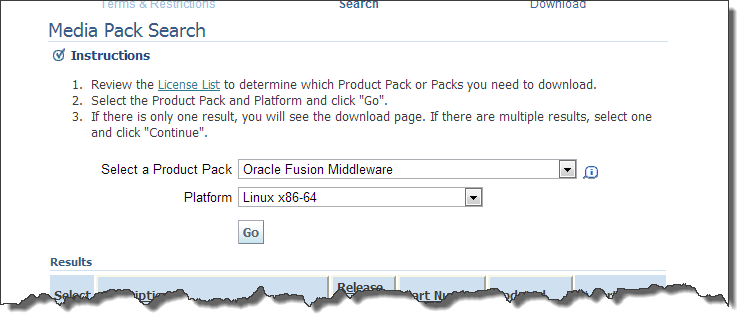
Before You Start
To edit the template you will need the Oracle ModifyJeos Utility which can be downloaded from the eDelivery Site.rpm -ivh ovm-modify-jeos-1.0.1-10.el5.noarch.rpm rpm -ivh ovm-template-config-1.0.1-5.el5.noarch.rpmAlternatively you can install the modify jeos packages on a none Exalogic OEL installation or a VirtualBox image. If you are doing this, assuming OEL 5u8, you will need the following rpms.
rpm -ivh ovm-modify-jeos-1.0.1-10.el5.noarch.rpm
rpm -ivh ovm-template-config-1.0.1-5.el5.noarch.rpm
Base Template
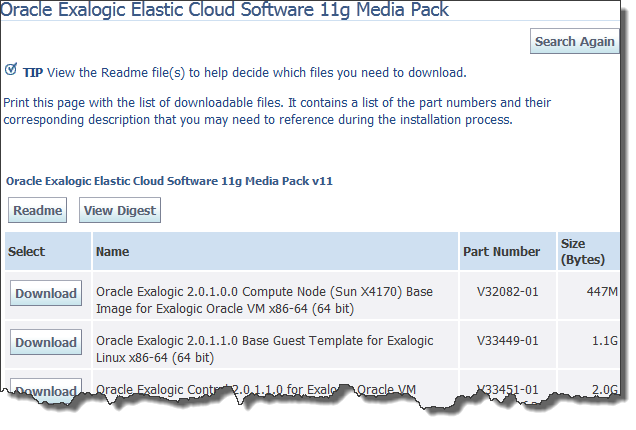
If you have installed the modify onto a vServer running on the Exalogic then simply mount the /export/common/images from the ZFS storage and you will be able to find the el_x2-2_base_linux_guest_vm_template_2.0.1.1.0_64.tgz (or similar depending which version you have) template file. Alternatively the latest can be downloaded from the eDelivery Site.tar -zxvf el_x2-2_base_linux_guest_vm_template_2.0.1.1.0_64.tgzThis will create a directory called BASE which will contain the System.img (VServer image) and vm.cfg (VServer Config information). This directory should be renamed to something more meaning full that indicates what we have done to the template and then the Simple name / name in the vm.cfg editted for the same reason.
Modifying the Template
Resizing Root File System
By default the shipped template has a root size of 4 GB which will leave a vServer created from it running at 90% full on the root disk. We can simply resize the template by executing the following:modifyjeos -f System.img -T <New Size MB>For example to imcrease the default 4 GB to 40 GB we would execute:
modifyjeos -f System.img -T 40960
Resizing Swap
We can modify the size of the swap space within a template by executing the following:modifyjeos -f System.img -S <New Size MB>For example to increase the swap from the default 512 MB to 4 GB we would execute:
modifyjeos -f System.img -S 4096
Resizing Note
If you are resizing both the root and the swap space you will need to execute the root resize first because it will reset the swap to a default size.
Changing RPMs
Adding RPMs
To add RPMs using modifyjeos, complete the following steps:- Add the names of the new RPMs in a list file, such as
addrpms.lst. In this file, you should list each new RPM in a
separate line.
- Ensure that all of the new RPMs are in a single directory,
such as rpms.
- Run the following command to add the new RPMs:
modifyjeos -f System.img -a <path_to_addrpms.lst> -m <path_to_rpms> -nogpgWhere <path_to_addrpms.lst> is the path to the location of the addrpms.lst file, and <path_to_rpms> is the path to the directory that contains the RPMs. The -nogpg option eliminates signature check on the RPMs.
Removing RPMs
To remove RPM s using modifyjeos, complete the following steps:- Add the names of the RPMs (the ones you want to remove) in a
list file, such as
removerpms.lst. In this file, you should list each RPM in a
separate line.
The Oracle Exalogic Elastic Cloud Administrator's Guide provides
a list of all RPMs that must not be removed from the vServer.
- Run the following command to remove the RPMs:
modifyjeos -f System.img -e <path_to_removerpms.lst>Where <path_to_removerpms.lst> is the path to the location of the removerpms.lst file.
Mounting the System.img
For all other modifications that are not supported by the modifyjeos command (adding you custom yum repositories, pre configuring NTP, modify default NFSv4 Nobody functionality, etc) we can mount the System.img and access it directly. To facititate quick and easy mounting/unmounting of the System.img I have put together the simple scripts below.
MountSystemImg.sh
#!/bin/sh

# The script assumes it's being run from the directory containing the System.img

# Export for later i.e. during unmount
export LOOP=`losetup -f`
export SYSTEMIMG=/mnt/elsystem
# Make Temp Mount Directory
mkdir -p $SYSTEMIMG
# Create Loop for the System Image
losetup $LOOP System.img
kpartx -a $LOOP
mount /dev/mapper/`basename $LOOP`p2 $SYSTEMIMG
#Change Dir into mounted Image
cd $SYSTEMIMG
UnmountSystemImg.sh
#!/bin/sh

# The script assumes it's being run from the directory containing the System.img

# Assume the $LOOP & $SYSTEMIMG exist from a previous run on the MountSystemImg.sh

umount $SYSTEMIMG
kpartx -d $LOOP
losetup -d $LOOP
Alternative MountSystemImg.sh
#!/bin/sh

# The script assumes it's being run from the directory containing the System.img

# Export for later i.e. during unmount
export LOOP=`losetup -f`
export SYSTEMIMGDIR=/mnt/elsystem
export SYSTEMIMG=System.img
export TEMPLATEDIR=`pwd`

# Read Parameters
while [ $# -gt 0 ]
do
 case "$1" in
  -i) SYSTEMIMG="$2"; shift;;
  *) echo ""; echo >&2 \
      "usage: $0 [-i <System Image Name (Default System.img)> "
      echo""; exit 1;;
  *) break;;
 esac
 shift
done

# Make Temp Mount Directory
mkdir -p $SYSTEMIMGDIR
# Create Loop for the System Image
losetup $LOOP $SYSTEMIMG
kpartx -a $LOOP
mount /dev/mapper/`basename $LOOP`p2 $SYSTEMIMGDIR
#Change Dir into mounted Image
cd $SYSTEMIMGDIR
echo "######################################################################"
echo "###                                                                ###"
echo "### Starting Bash shell for editing. When completed log out to     ###"
echo "### Unmount the System.img file.                                   ###"
echo "###                                                                ###"
echo "######################################################################"
echo
bash
cd ~
cd $TEMPLATEDIR
umount $SYSTEMIMGDIR
kpartx -d $LOOP
losetup -d $LOOP
rm -rf $SYSTEMIMGDIR
Modifying Files in the System.img
Once you have mounted the System.img script, above, you will be placed in a bash shell and located in the /mnt/elsystem directory. This directory represents the root of the System.img file and from here we can access the various files within, what will be, the vServers file system.vi /etc/hosts becomes vi etc/hosts vi /etc/fstab becomes vi etc/fstabWhen creating links these must all be done as relative link so to set the System Time Zone we would normally execute:
ln -sf /usr/share/zoneinfo/GMT /etc/localtimeBut this is replaced with:
cd etc
ln -sf ../usr/share/zoneinfo/GMT localtime
Packaging the Template
Once you have finished modifying the template it can be simply repackaged and then imported into EMOC as described in "Exalogic 2.0.1 Tea Break Snippets - Importing Public Server Template".To do this we will simply cd to the directory above that containing the modified files and execute the following:
tar -zcvf <New Template Name>.tgz <New Template Directory>The resulting.tgz file can be copied to the images directory on the ZFS and uploadd using the IB network.
when i ran ' modifyjeos -f 'System.img -T 40960' , I got the error ' Starting VM image reconfiguration...
ReplyDeleteERROR: Unknow filesystem'. Any idea on the fix?